
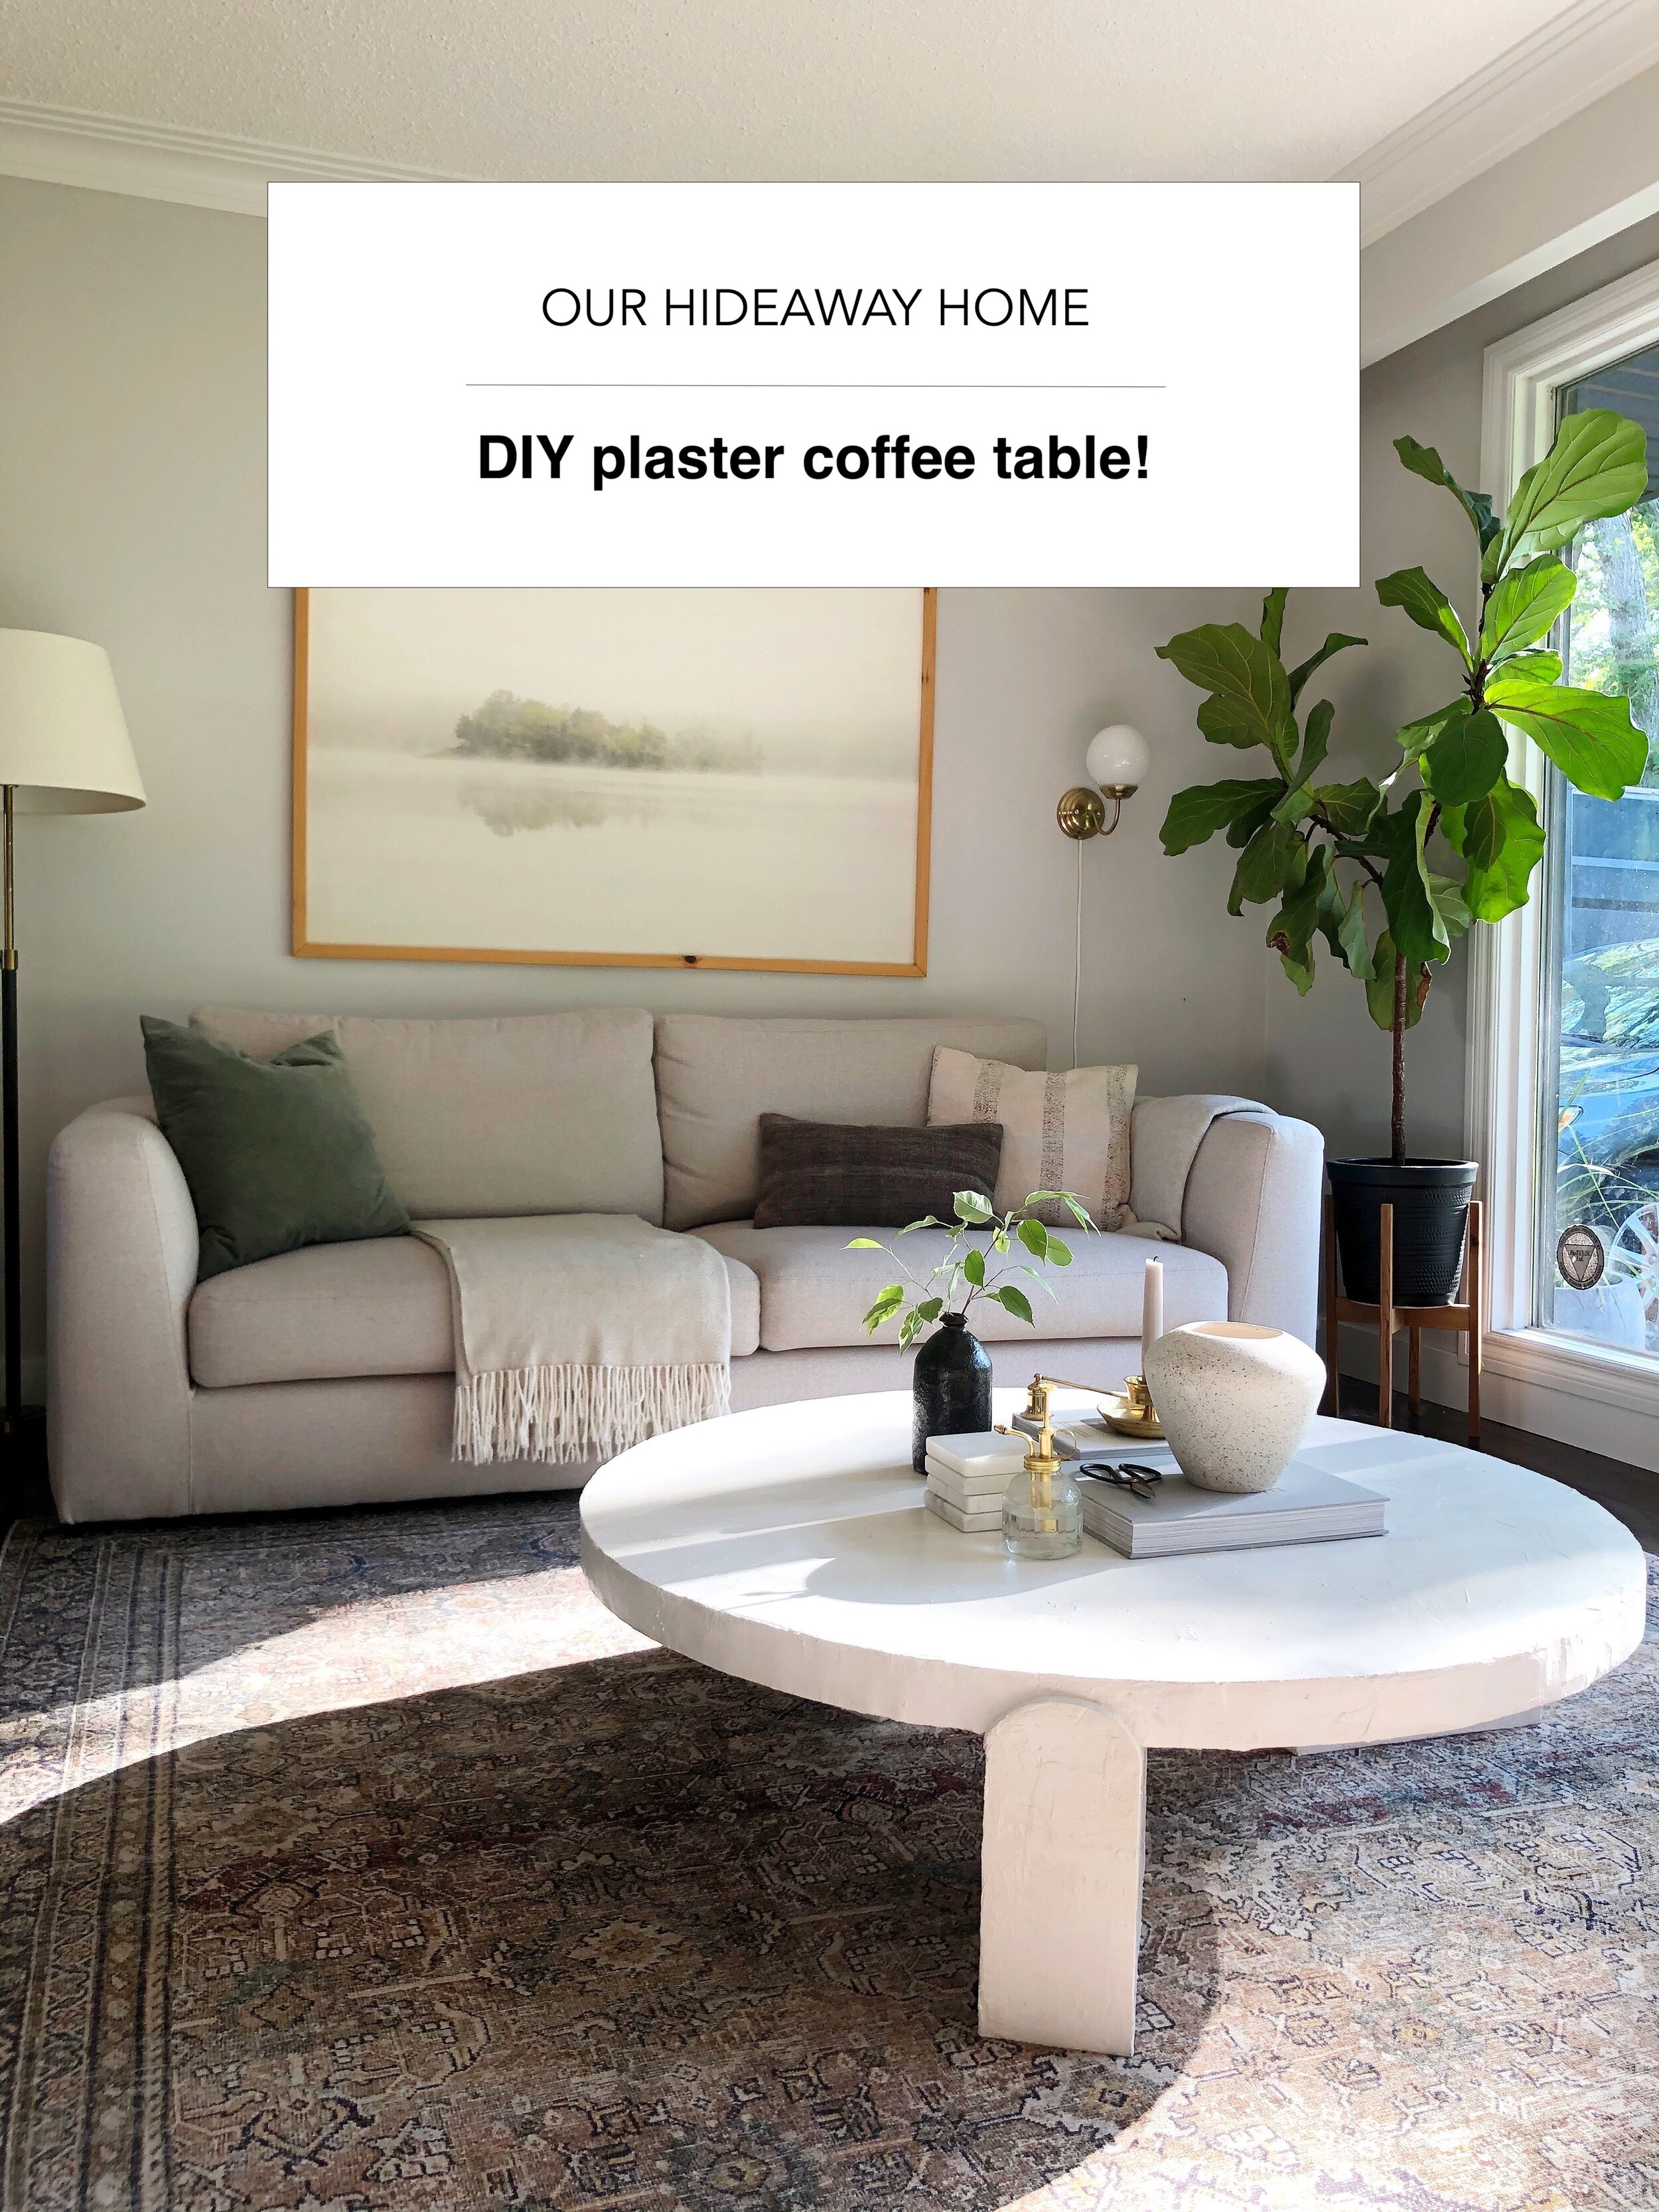
How To: DIY Plaster Coffee Table!!

Wow wow wow, to say I am in love with this project is an understatement. I went into this DIY with very little planned, just an idea in my head that I wanted to execute, a lovely plaster table tutorial from my friend Lauren to reference, and somehow it really transformed into a successful project.

Here’s a list of the material we purchased for the table:
2 sheets of 1/2 inch plywood (4’x8’ - get your hardware store to cut these in half to make four 4’x4’ pieces)
1 piece of 2-in x 10-in x 10-ft
3 boxes of Plaster of Paris (2kg each)
1 can of Minwax Polycrylic Sealer
1 roll of mesh drywall tape
We also used our jig saw, miter saw, drill, clamps, screws, trowel and buckets we had on hand.
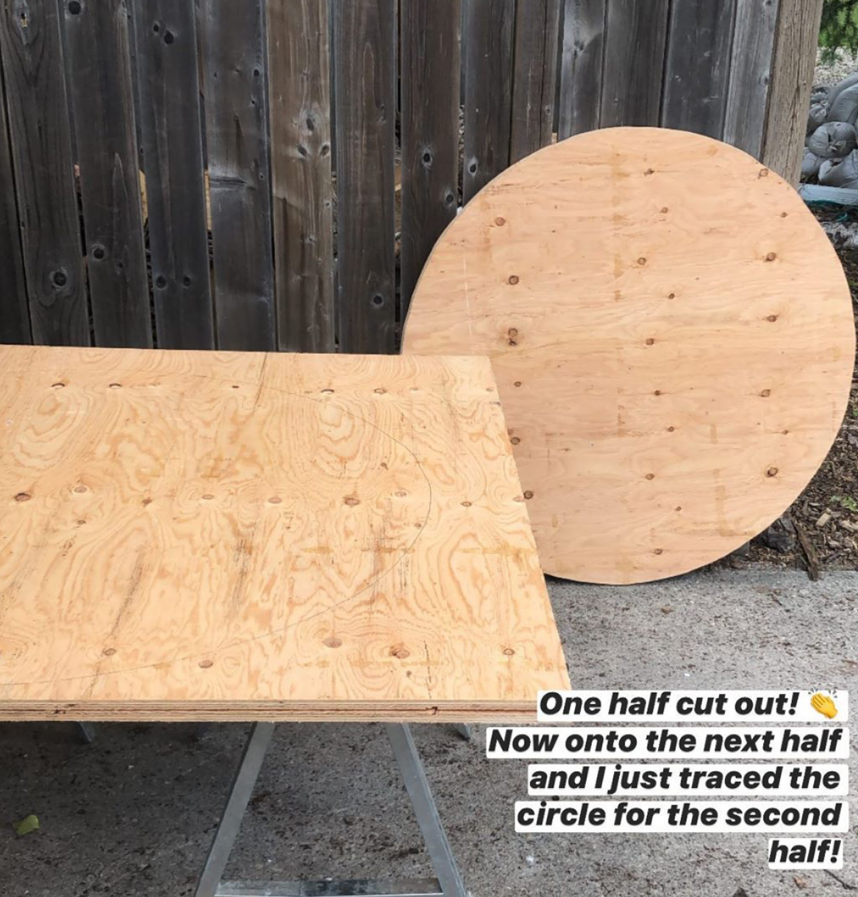
1. Have your hardware store cut the 4’x8’ sheets of plywood in half. Secure two halves of plywood together using 3-4 screws so that you can cut through two sheets at the same time.
Trace a circle (we wanted our table to be 3.5ft in diameter) so we found the centre of the plywood, drilled a screw in the centre and tied a string with a pencil on the end at 21” from the centre, and dragged it around to draw out a circle.
Cut out the circles using a jig saw.
2. Glue and screw the 4 sheets of plywood together using wood glue and 1.5 inch screws. These screws will only reach through 3 sheets of plywood but that’s perfect because you don’t want it to pop out the other side. I used about 6 screws on the top and bottom of the entire table to make it really secure.
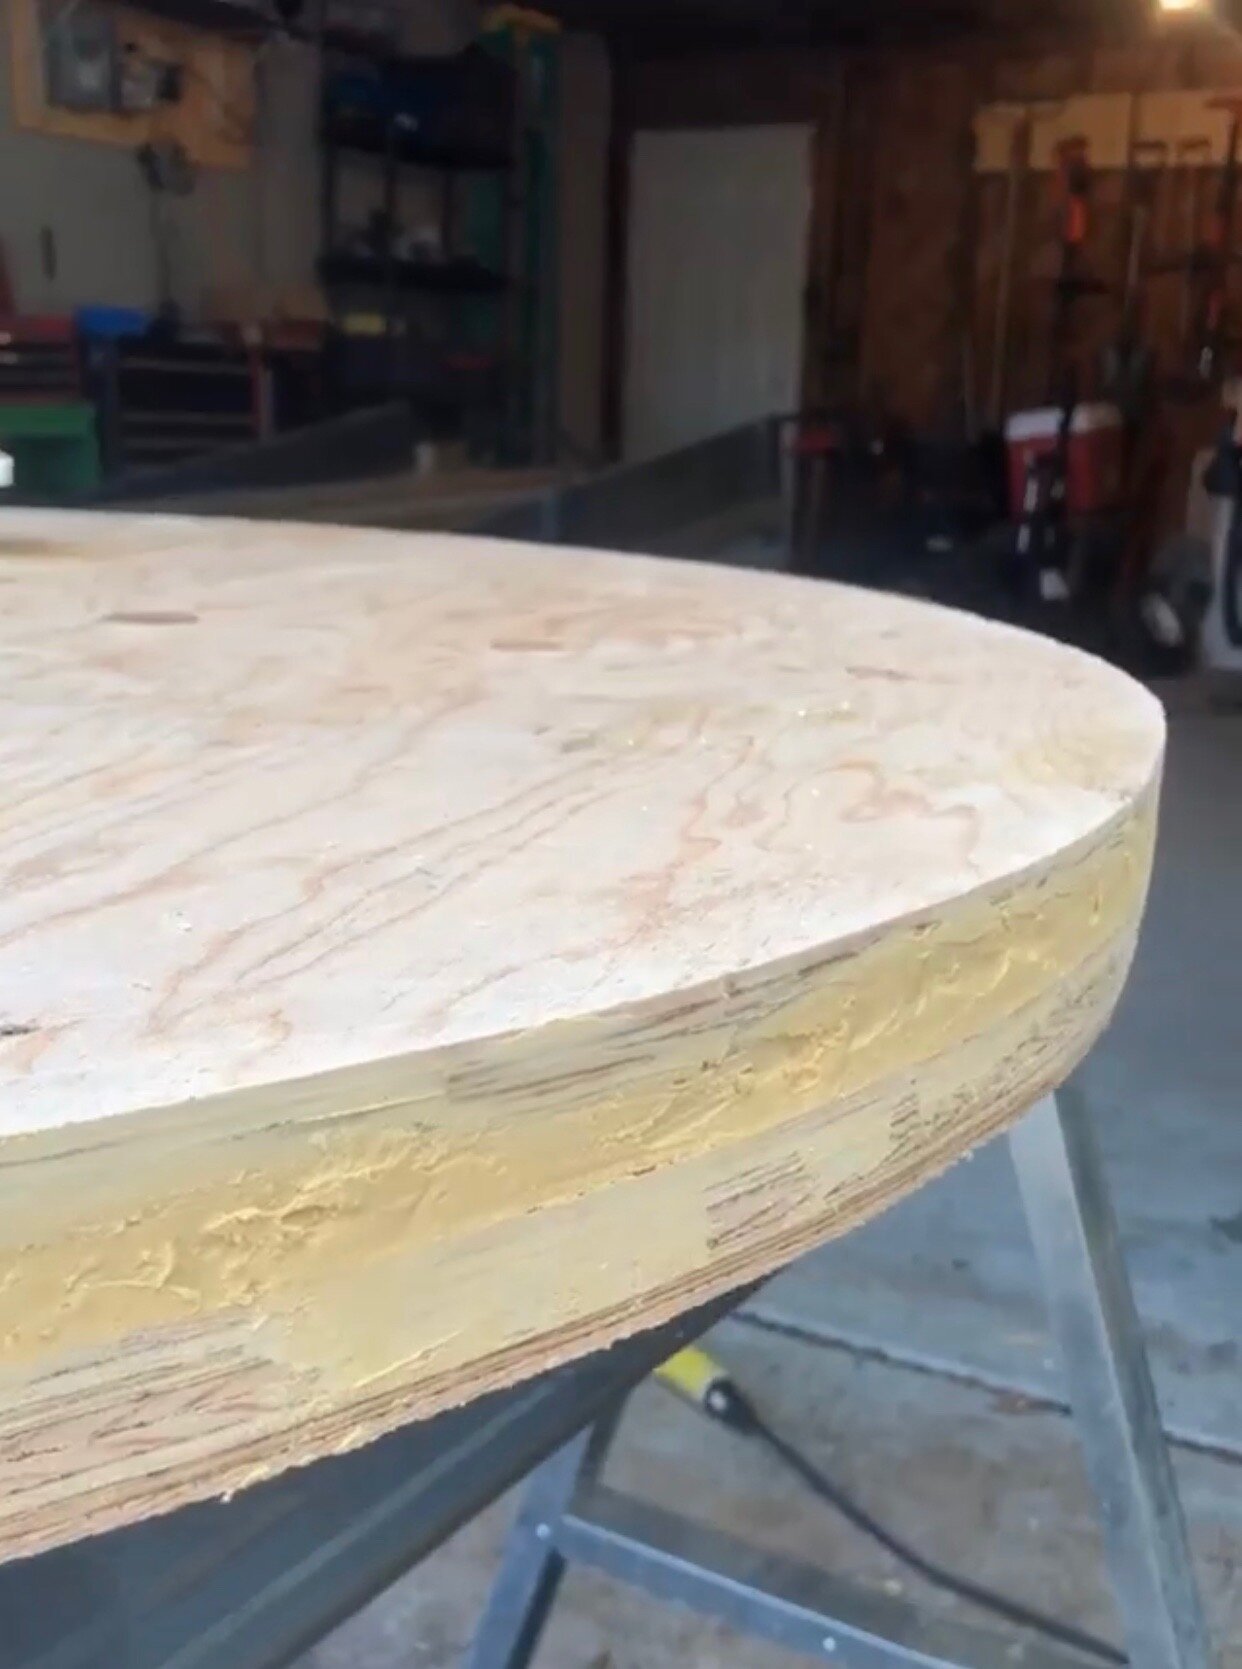
3. Fill any gaps on the edges with wood fill, it makes a big difference but it doesn’t have to be perfect so don’t stress! My cuts were not perfect but wood fill was everything here.

4. Make the table legs using the piece of 2”x10”. We cut nine 12 inch sections from the piece of wood. We glued and screwed 3 sections together to make large chunks of wood measuring 6”x10”x12”. This is what the table looked like upside down, which wasn’t great but once we flipped it over, I knew it was going to be amazing!

5. Cut arches to install in the front of the legs. We used leftover plywood from the table top for the arches. We traced the front portion of the leg on the plywood and then used a bowl to trace the arch. Cut it out with a jigsaw and then make sure it fits and secure with wood glue and nails.

6. Okay so now all the construction is done and we can start working on the finish! We wanted to ensure the table is really durable and will last a long time so we wrapped it in mesh drywall tape! This is a complete experiment for me but the process went really smoothly and it seems very durable and I’m happy with it, so, I would recommend wrapping any tables with mesh tape before applying plaster! Before putting the tape down, I sprayed the plywood with spray adhesive first and then layed the tape overtop for extra strength. Make sure you don’t overlap the tape too much and that the surface is very quite smooth because it will make applying the plaster much easier.


7. Once the table is fully wrapped in mesh, you can mix your first batch of plaster. Plaster hardens really quickly so be prepared to be work quickly (you have about 5 minutes per batch) and to wash your container out after every batch (a clean container really helps to prevent chunks). I mixed the plaster in a 2:1 ratio, 2 parts plaster, 1 part cold water. Once it’s mixed it should be easily spreadable and a crepe batter consistency is ideal. We did three thin coats on the table and it provided full coverage! It took me about 6-7 hours to fully plaster the entire table so it’s a full day of work for sure!
*check out my instagram story highlight for a video of the process*
When plastering make sure you spread it out really well and avoid any large chunks. The table will have really nice texture after a couple coats, so thin even coats are ideal!

8. Wait for the table to dry for a few hours, then seal with two coats of Polycrylic. We used a thick layer of poly and did multiple passes per coat. This is the protective coating so make sure you do a good couple layers to ensure durability. Let it dry for about 12 hours before bringing it inside your home!
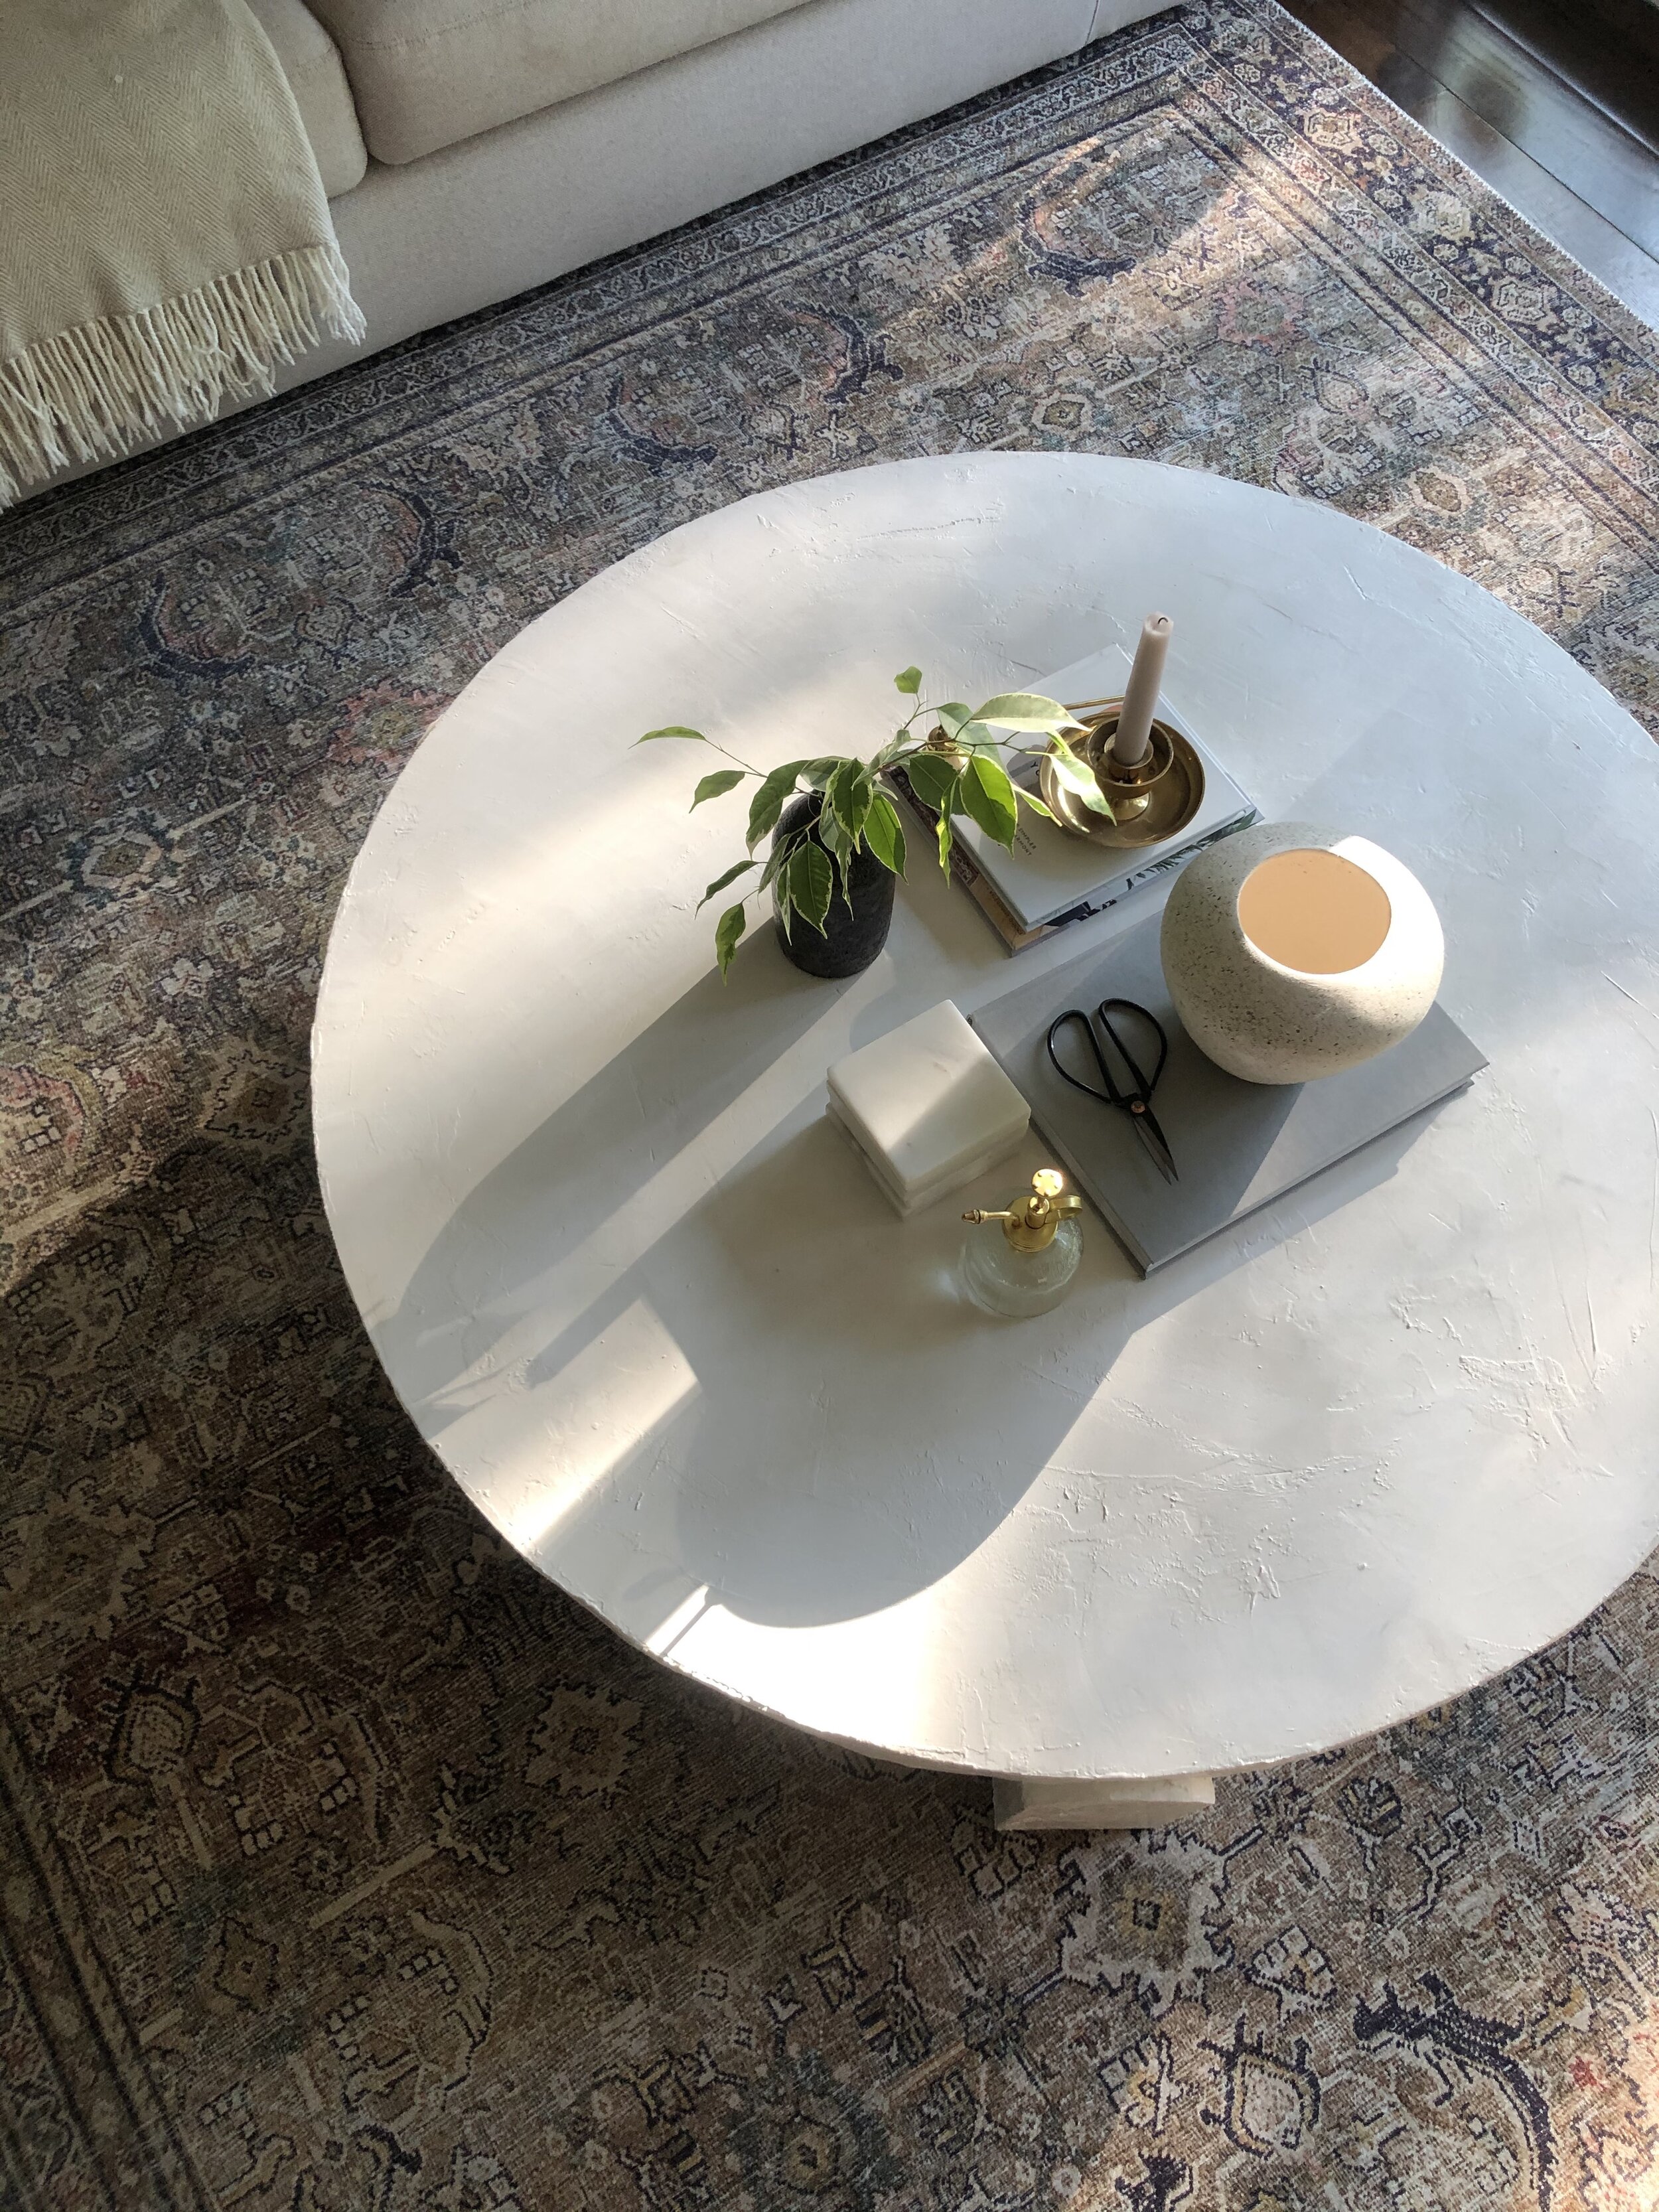

I honestly didn’t think it was possible to love a table until right now, but I am in LOVE! The table top itself feels cool the touch, almost like stone. It seems very durable but I will definitely provide updates on how it holds up. We spent about $80 on the material for this project and the high end modern look really makes it feel like a million bucks! I still can’t believe I made that!
An unfortunate update on our table… it started chipping in certain spots and I tried to refinish it and repair the plaster but it just kept delaminating and not adhering properly. I found out the hard way, that plaster of paris is not durable enough to use for furniture like this and if you plan on making this table, purchasing a stronger plaster online would be the best option! We now have a small child that smashes everything, so we ended up giving away our table because it was clear it wasn’t going to last in our home. Sorry to disappoint any of you, but it was a great project that lasted a couple years in our home and brought me so much joy!